Optionally, you can click **Browse** to change the default output location. 8. Click **Next**. 9. Click **Build** to start building the package. The project information is displayed in the build page and the progress bar indicates the build status.
If you need to cancel the build, click **Cancel**. This cancels the current build process, closes the wizard, and takes you back to the **Customizations Page**. 10. If your build fails, an error message will show up that includes a link to the project folder. You can scan the logs to determine what caused the error. Once you fix the issue, try building the package again.
If your build is successful, the name of the provisioning package, output directory, and project directory will be shown. - If you choose, you can build the provisioning package again and pick a different path for the output package. To do this, click **Back** to change the output package name and path, and then click **Next** to start another build. - If you are done, click **Finish** to close the wizard and go back to the **Customizations Page**. 11. Select the **output location** link to go to the location of the package. Copy the .ppkg to an empty USB flash drive. ## Apply a provisioning package to Surface Hub There are two options for deploying provisioning packages to a Surface Hub. You can apply a provisioning packing [during the first run wizard](#apply-a-provisioning-package-during-first-run), or using [Settings](#apply-a-package-using-settings). ### Apply a provisioning package during first run > [!IMPORTANT] > Only use provisioning packages to install certificates during first run. Use the **Settings** app to install apps and apply other settings. 1. When you turn on the Surface Hub for the first time, the first-run program will display the [**Hi there page**](first-run-program-surface-hub.md#first-page). Make sure that the settings are properly configured before proceeding. 2. Insert the USB flash drive containing the .ppkg file into the Surface Hub. If the package is in the root directory of the drive, the first-run program will recognize it and ask if you want to set up the device. Select **Set up**. 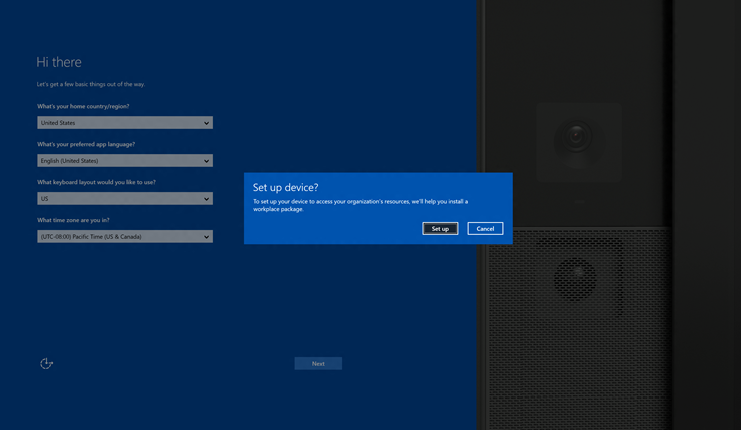 3. The next screen asks you to select a provisioning source. Select **Removable Media** and tap **Next**. 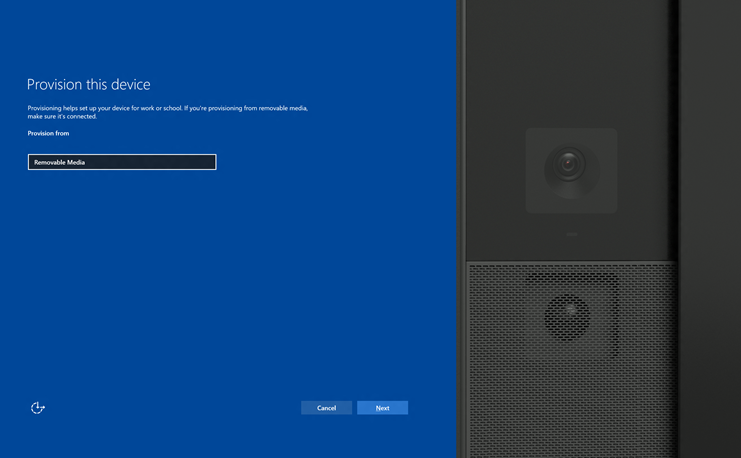 4. Select the provisioning package (\*.ppkg) that you want to apply, and tap **Next**. Note that you can only install one package during first run. 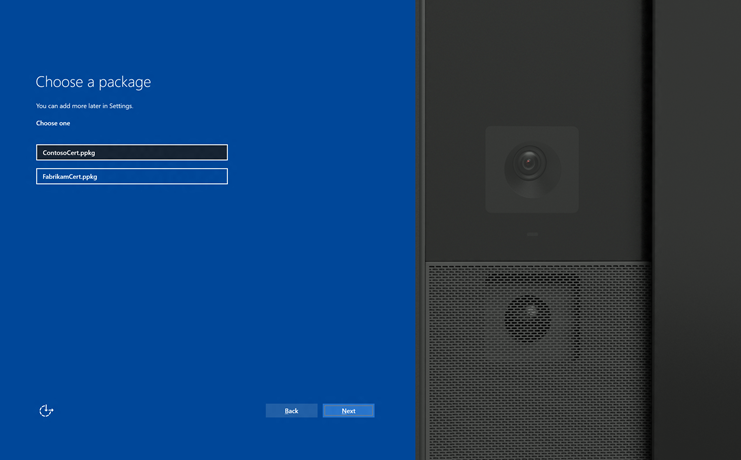 5. The first-run program will show you a summary of the changes that the provisioning package will apply. Select **Yes, add it**. The package will be applied, and you'll be taken to the next page in the first-run program. 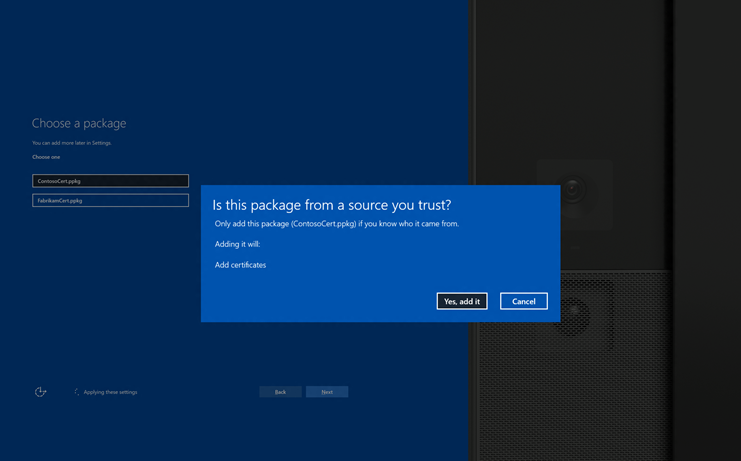 ### Apply a package using Settings 1. Insert the USB flash drive containing the .ppkg file into the Surface Hub. 2. From the Surface Hub, start **Settings** and enter the admin credentials when prompted. 3. Navigate to **This device** > **Device management**. Under **Provisioning packages**, select **Add or remove a provisioning package**. 4. Select **Add a package**. 5. Choose your provisioning package and select **Add**. You may have to re-enter the admin credentials if prompted. 6. You'll see a summary of the changes that the provisioning package will apply. Select **Yes, add it**.