If you can't use **Publisher** rules, we then recommend that you use **File hash** rules. **File hash** rules are a secure alternative that can be used on unsigned code. The primary disadvantage to **File hash** is that every time a binary changes (such as, through servicing updates or upgrades), you'll need to create a new rule.
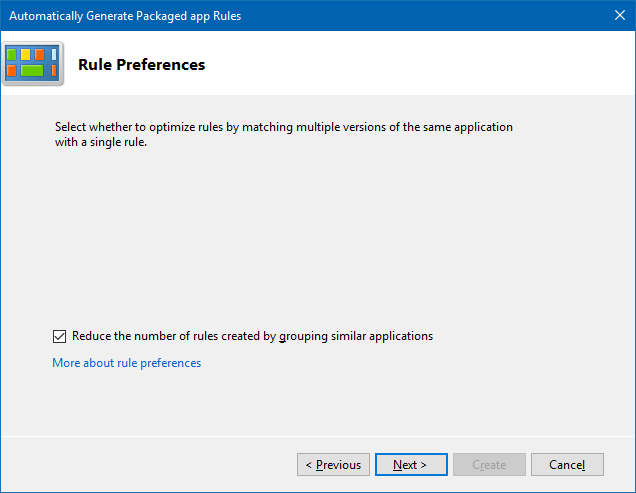
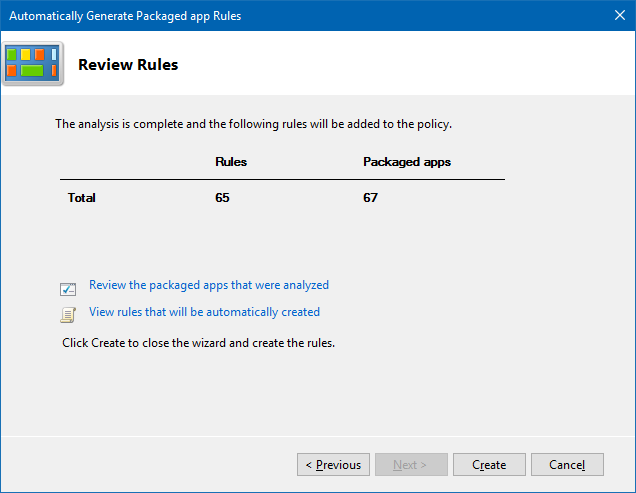
6. In the **Review Rules** screen, look over your rules to make sure they’re right, and then click **Create** to add them to your collection of rules.
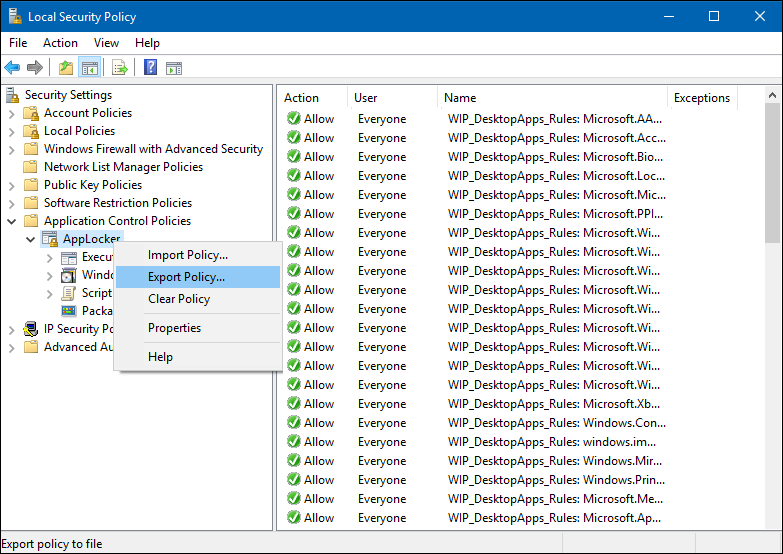
7. In the left pane, right-click **AppLocker**, click **Export Policies**, go to where you want to save the XML file and type a file name, click **Save**, and then clear your AppLocker rules.
>[!Important]
>Be aware that what you're saving are the actual AppLocker rules using your local policy. You don't want to apply these rules to your employee devices, you just want to use them to create and export the XML content. You must delete the AppLocker rules before you apply your policy.

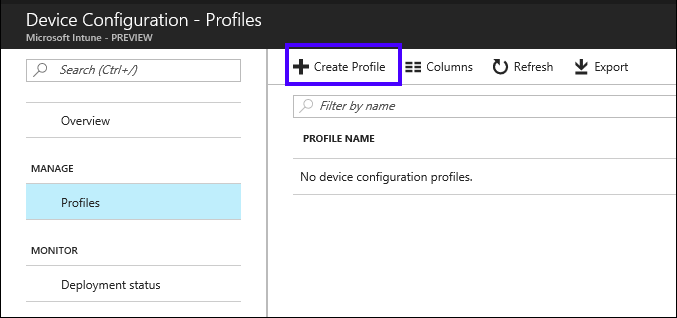
8. Open the Microsoft Azure Intune mobile application management console, click **Device configuration**, and then click **Create Profile**.
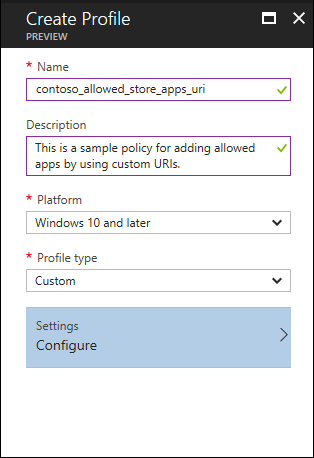
9. In the **Create Profile** blade, type a name for your profile, such as *contoso_allowed_store_apps_uri*, into the **Name** box, add an optional description for your policy into the **Description** box, select **Windows 10 and later** from the **Platform** dropdown box, select **Custom** from the **Profile type** dropdown box, and then click **Configure**.
10. In the **Custom OMA-URI Settings** blade, click **Add**.
11. In the **Add Row** blade, type:
- **Name.** Type a name for your setting, such as *AllowedStoreAppsURI*.
- **Description.** Type an optional description for your setting.
- **OMA-URI.** Type _./Vendor/MSFT/AppLocker/EnterpriseDataProtection/>your_enterprise_name</StoreApp EXE_ into the box.
- **Data type.** Select **String** from the dropdown box.
- **Value.** To find the text to type here, follow these steps:
1. Open File Explorer, go to the location where you saved your exported XML file from above, and open it using an XML editor, such as Notepad.
2. Copy the text that includes the **Type** of `Appx` within the **RuleCollection** tags, pasting this info into the **Value** box. For example:
```
If you can't use **Publisher** rules, we then recommend that you use **File hash** rules. **File hash** rules are a secure alternative that can be used on unsigned code. The primary disadvantage to **File hash** is that every time a binary changes (such as, through servicing updates or upgrades), you'll need to create a new rule.
Finally, there's **Path** rules. **Path** rules are easier to set up and maintain, but can let apps bypass Windows Information Protection (WIP) by simply renaming and moving an unallowed file to match one of the apps on the **Protected App** list. For example, if your **Path** rule says to allow `%PROGRAMFILES%/NOTEPAD.EXE`, it becomes possible to rename DisallowedApp.exe to Notepad.exe, move it into the specified path above, and have it suddenly be allowed.
6. In the **Review Rules** screen, look over your rules to make sure they’re right, and then click **Create** to add them to your collection of rules.

7. In the left pane, right-click **AppLocker**, click **Export Policies**, go to where you want to save the XML file and type a file name, click **Save**, and then clear your AppLocker rules.
>[!Important]
>Be aware that what you're saving are the actual AppLocker rules using your local policy. You don't want to apply these rules to your employee devices, you just want to use them to create and export the XML content. You must delete the AppLocker rules before you apply your policy.
8. Open the Microsoft Azure Intune mobile application management console, click **Device configuration**, and then click **Create Profile**.

9. In the **Create Profile** blade, type a name for your profile, such as *contoso_allowed_desktop-apps_uri*, into the **Name** box, add an optional description for your policy into the **Description** box, select **Windows 10 and later** from the **Platform** dropdown box, select **Custom** from the **Profile type** dropdown box, and then click **Configure**.

10. In the **Custom OMA-URI Settings** blade, click **Add**.
11. In the **Add Row** blade, type:
- **Name.** Type a name for your setting, such as *AllowedDesktopAppsURI*.
- **Description.** Type an optional description for your setting.
- **OMA-URI.** Type _./Vendor/MSFT/AppLocker/EnterpriseDataProtection/>your_enterprise_name</EXE_ into the box.
- **Data type.** Select **String** from the dropdown box.
- **Value.** To find the text to type here, follow these steps:
1. Open File Explorer, go to the location where you saved your exported XML file from above, and open it using an XML editor, such as Notepad.
2. Copy the text that includes the **Type** of `Exe` within the **RuleCollection** tags, pasting this info into the **Value** box. For example:
```