windows-itpro-docs/devices/surface-hub/surface-hub-2s-pack-components.md
2019-07-03 09:50:20 -07:00

4.2 KiB

title, description, keywords, ms.prod, ms.sitesec, author, ms.author, audience, ms.topic, ms.date, ms.localizationpriority
title description keywords ms.prod ms.sitesec author ms.author audience ms.topic ms.date ms.localizationpriority
How to pack and ship your Surface Hub 2S for service Instructions for packing Surface Hub 2S components, replacing the Compute cartridge, and replacing the camera pack, replace components, camera, compute cartridge surface-hub library Teresa-Motiv v-tea Admin article 07/1/2019 Normal

How to pack and ship your Surface Hub 2S for service

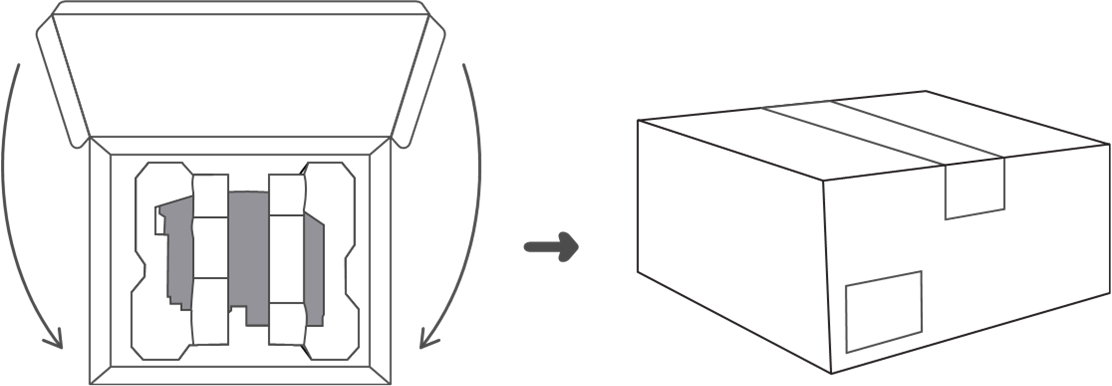
If you replace your Surface Hub 2S, one of its components, or a related accessory, use the instructions in this article when you pack the device for shipment.

Important

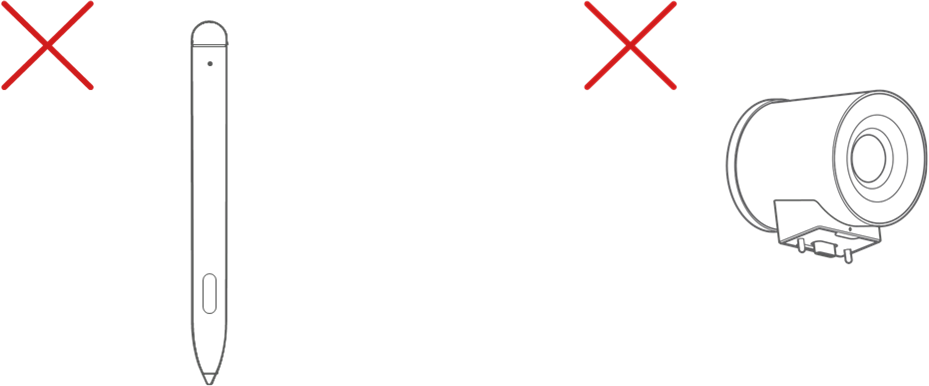
When packing your device for shipment, make sure that you use the packaging in which your replacement device arrived.

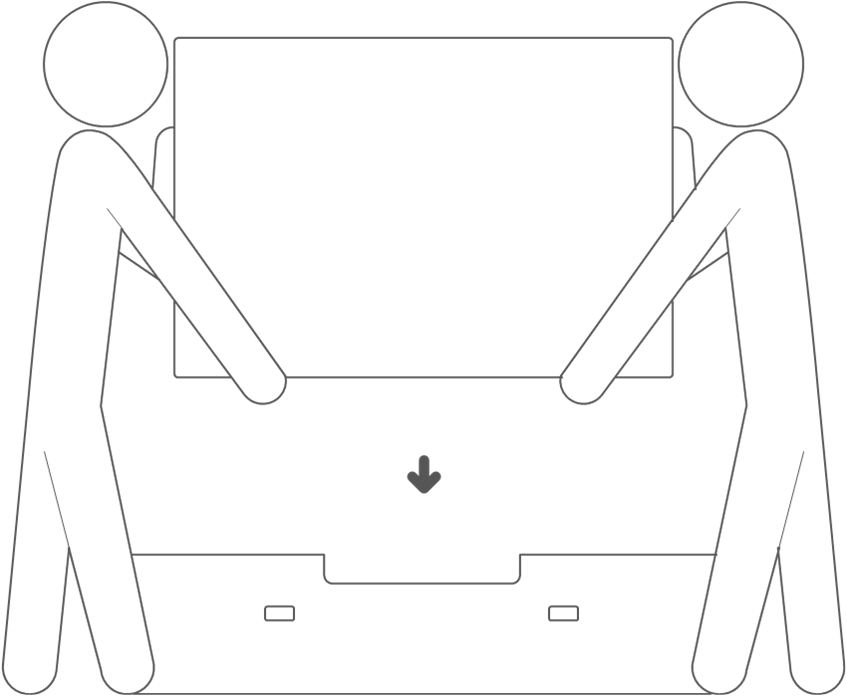
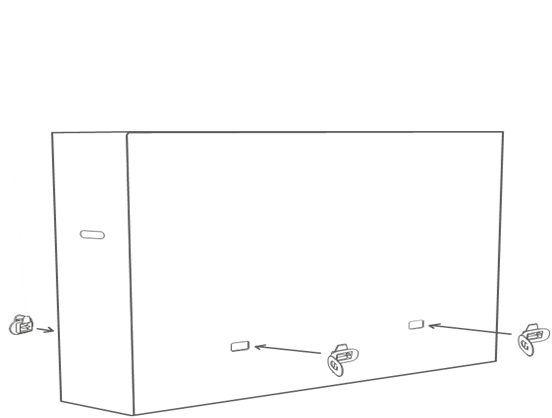
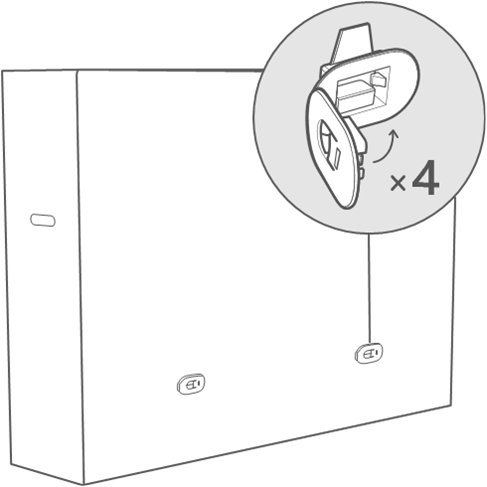
How to pack your Surface Hub 2S 50”

Use the following steps to pack your Surface Hub 2S 50" for shipment.

The Surface Hub unit and mobile stand.

Remove the pen and the camera. Do not pack them with the unit.

Remove the drive and the power cable. Do not pack them with the unit.

Do not pack the Setup guide with the unit.

Unplug all cables, slide the cover sideways, and unscrew the locking screw of the Compute Cartridge.

Slide the Compute Cartridge out of the unit.

You will need the Compute Cartridge and a screwdriver.

Remove the cover screw and the cover from the Compute Cartridge, and then remove the solid state drive (SSD).

Replace the cover and slide the Compute Cartridge back into the unit.

Re-fasten the locking screw and slide the cover into place.

Remove any base or mounting hardware. Using two people, place the unit in the base of the shipping container.

Replace the cover of the shipping container, and insert the four clips.

Close the four clips.

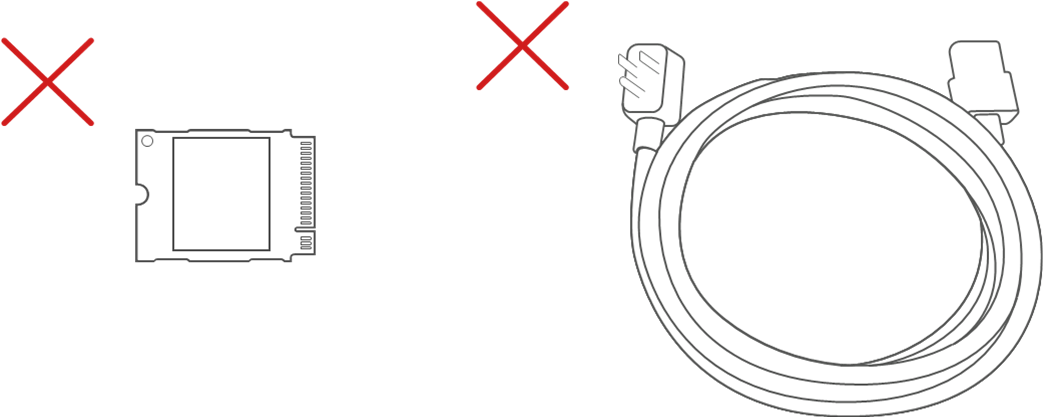
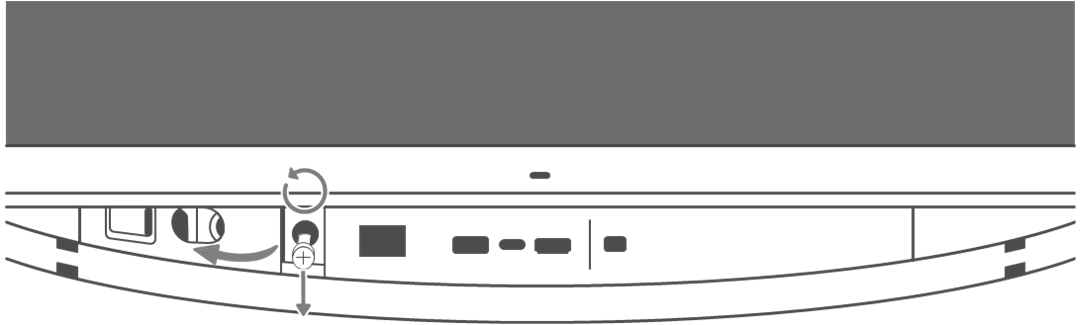
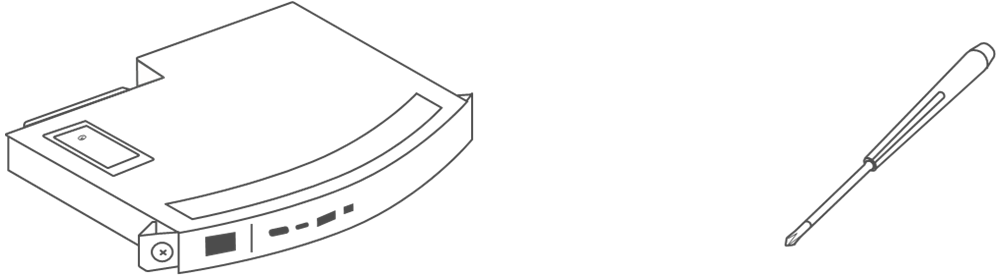
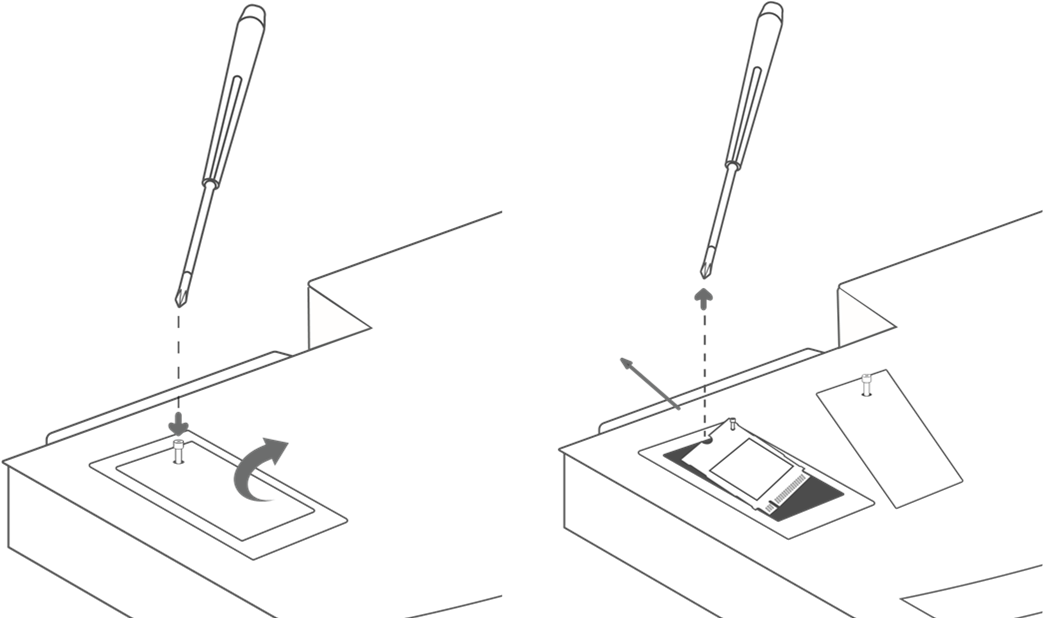
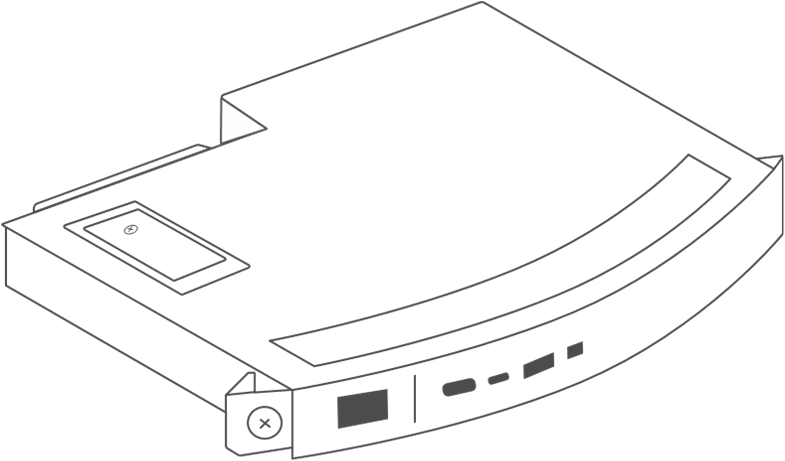
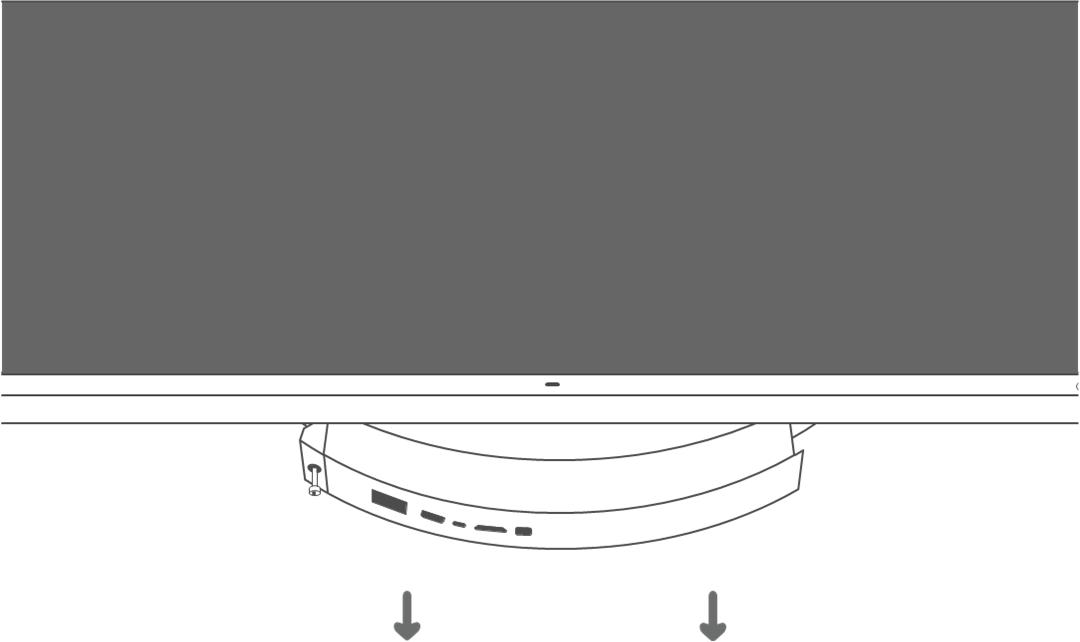
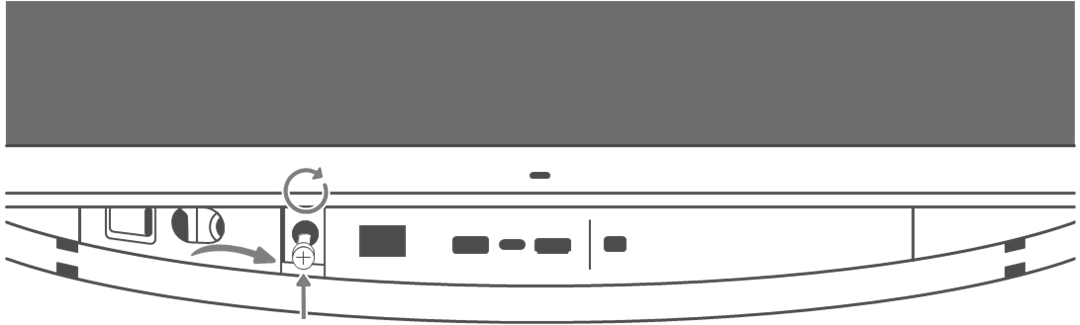
How to replace and pack your Surface Hub 2S Compute Cartridge

Use the following steps to remove the Surface Hub 2S Compute Cartridge, pack it for shipment, and install the new Compute Cartridge.

Image of the compute cartridge.

Unplug all cables, slide the cover sideways, and unscrew the locking screw of the Compute Cartridge.

Slide the Compute Cartridge out of the unit.

You will need the Compute Cartridge and a screwdriver.

Remove the cover screw and the cover from the Compute Cartridge, and then remove the solid state drive (SSD). When finished, replace the cover.

You will need the packaging fixtures that were used to package your replacement Compute Cartridge.

Place the old Compute Cartridge in the packaging fixtures.

Place the old Compute Cartridge and its packaging into the box that was used for the replacement Compute Cartridge. Reseal the box.

Image of the replacement Compute Cartridge.

Slide the replacement Compute Cartridge into the unit.

Fasten the locking screw and slide the cover into place.

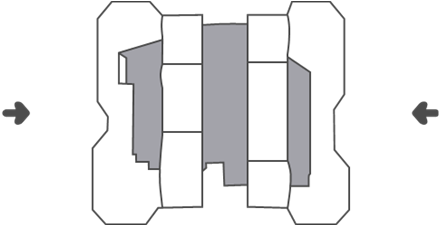
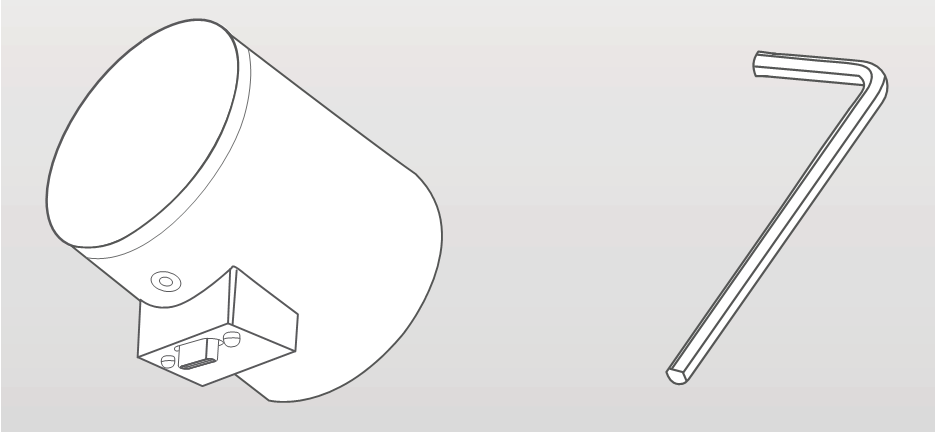
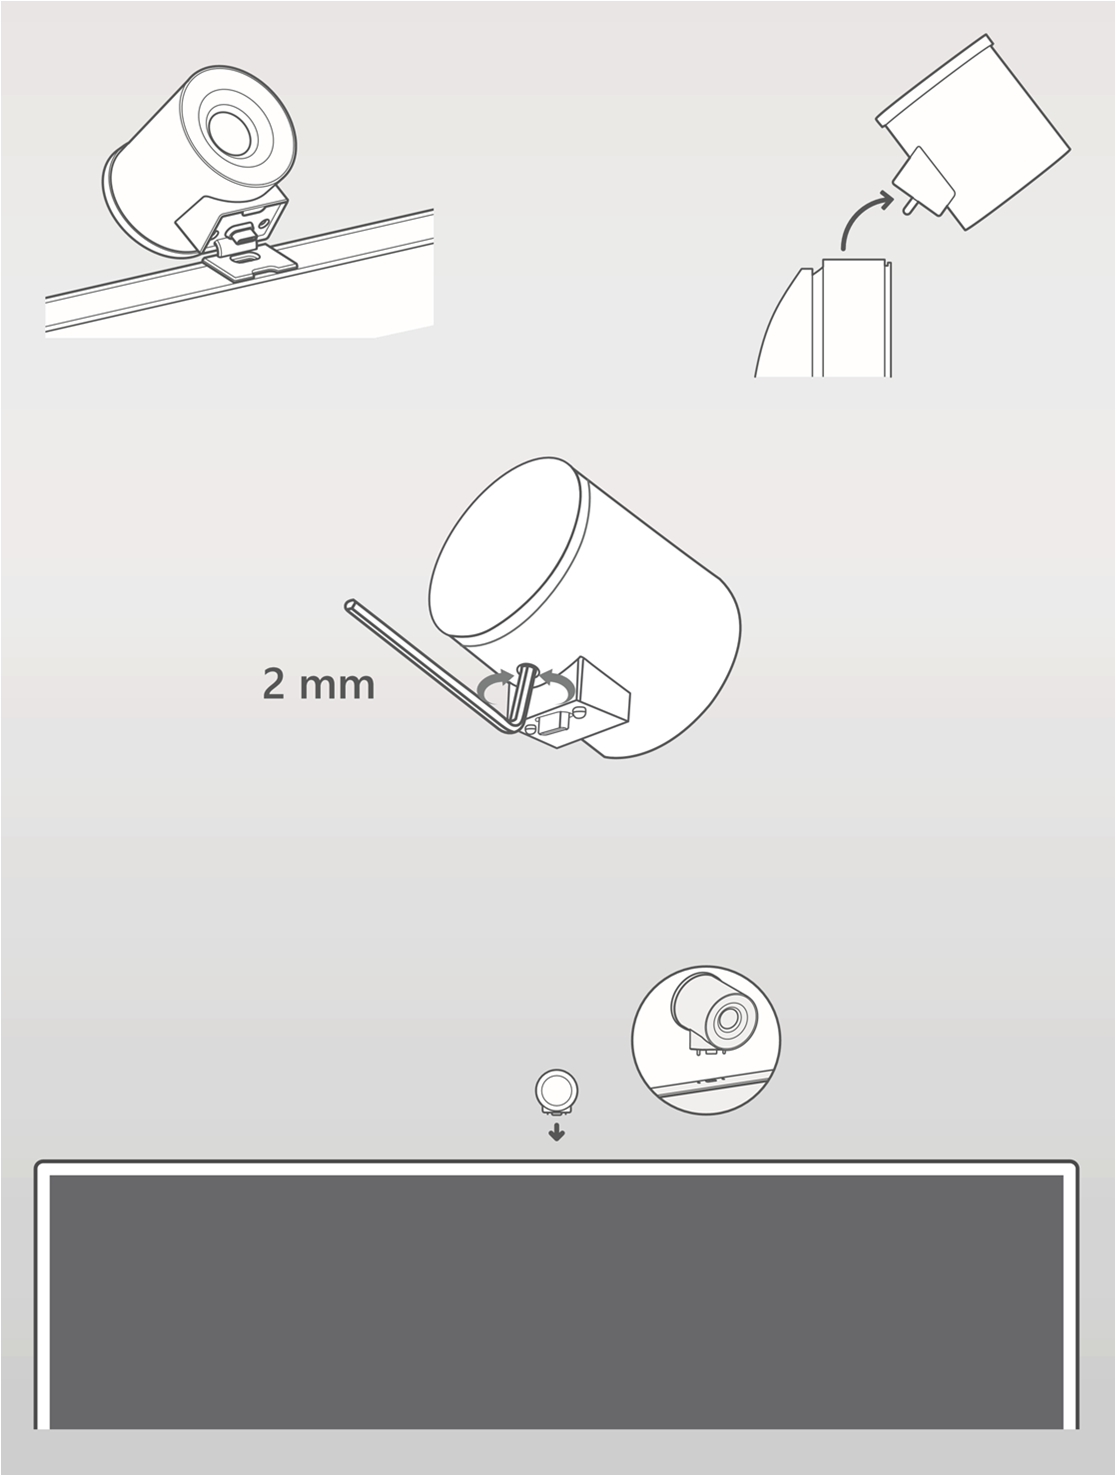
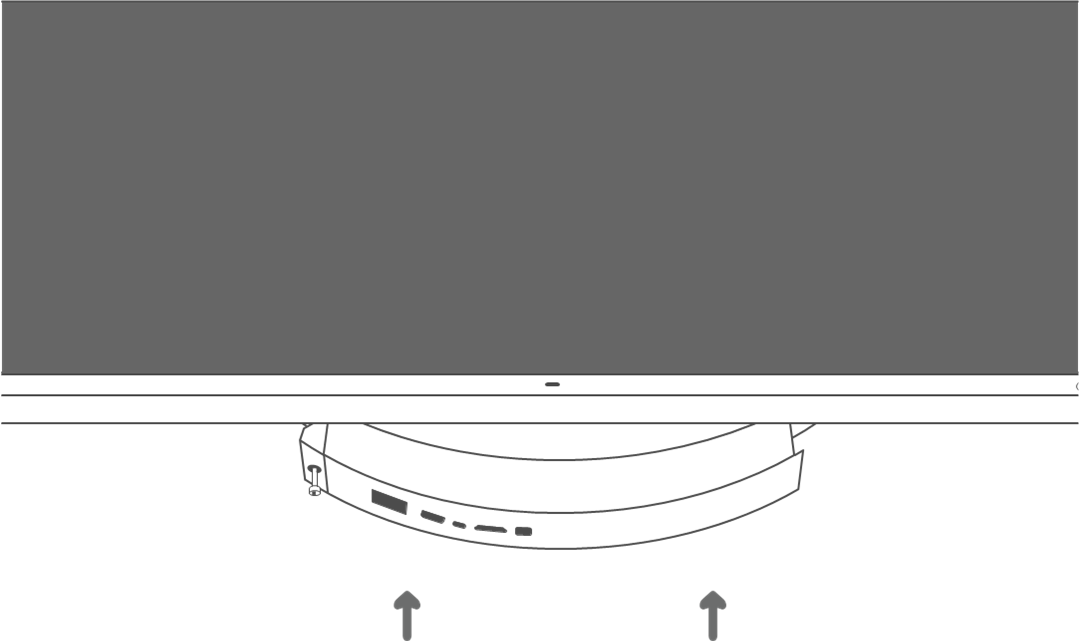
How to replace your Surface Hub 2S Camera

Use the following steps to remove the Surface Hub 2S camera and install the new camera.

You will need the new camera and the two-millimeter allen wrench

Unplug the old camera from the unit. If needed, use the allen wrench to adjust the new camera. Plug the new camera into the unit.