6.3 KiB
title, description, ms.assetid, ms.reviewer, manager, ms.author, keywords, ms.prod, ms.mktglfcycl, ms.localizationpriority, ms.sitesec, ms.pagetype, audience, author, ms.topic
| title | description | ms.assetid | ms.reviewer | manager | ms.author | keywords | ms.prod | ms.mktglfcycl | ms.localizationpriority | ms.sitesec | ms.pagetype | audience | author | ms.topic |
|---|---|---|---|---|---|---|---|---|---|---|---|---|---|---|
| Perform an in-place upgrade to Windows 11 with MDT (Windows 11) | The simplest path to upgrade PCs that are currently running an earlier version of Windows client to Windows 11 is through an in-place upgrade. | B8993151-3C1E-4F22-93F4-2C5F2771A460 | dougeby | greglin | upgrade, update, task sequence, deploy | w10 | deploy | medium | library | mdt | itpro | greg-lindsay | article |
Perform an in-place upgrade to Windows 11 with MDT
Applies to
- Windows 10
- Windows 11
The simplest path to upgrade PCs that are currently running an earlier version of Windows client to Windows 11 is through an in-place upgrade.
Tip
In-place upgrade is the preferred method to use when migrating from Windows 10 to a later release of Windows 10, and is also a preferred method for upgrading from Windows 7, 8.1, or 10 to Windows 11, if you do not plan to significantly change the device's configuration or applications. MDT includes an in-place upgrade task sequence template that makes the process really simple.
In-place upgrade differs from computer refresh in that you cannot use a custom image to perform the in-place upgrade. In this article we will add a default Windows 11 image to the production deployment share specifically to perform an in-place upgrade.
Three computers are used in this topic: DC01, MDT01, and PC0002.
- DC01 is a domain controller for the contoso.com domain
- MDT01 is a domain member server
- PC0002 is a domain member computer running Windows 10, targeted for the Windows 11 upgrade
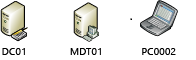
The computers used in this topic.
Note
For details about the setup for the procedures in this article, please see Prepare for deployment with MDT.
If you have already completed all the steps in Deploy a Windows 11 image using MDT, then you already have a production deployment share and you can skip to Add Windows 11 Enterprise x64 (full source).
Create the MDT production deployment share
On MDT01:
- Ensure you are signed on as: contoso\administrator.
- In the Deployment Workbench console, right-click Deployment Shares and select New Deployment Share.
- On the Path page, in the Deployment share path text box, type D:\MDTProduction and click Next.
- On the Share page, in the Share name text box, type MDTProduction$ and click Next.
- On the Descriptive Name page, in the Deployment share description text box, type MDT Production and click Next.
- On the Options page, accept the default settings and click Next twice, and then click Finish.
- Using File Explorer, verify that you can access the \\MDT01\MDTProduction$ share.
Add Windows 11 Enterprise x64 (full source)
If you have already have a Windows 11 reference image in the MDT Build Lab deployment share, you can use the deployment workbench to copy and paste this image from the MDT Build Lab share to the MDT Production share and skip the steps in this section.
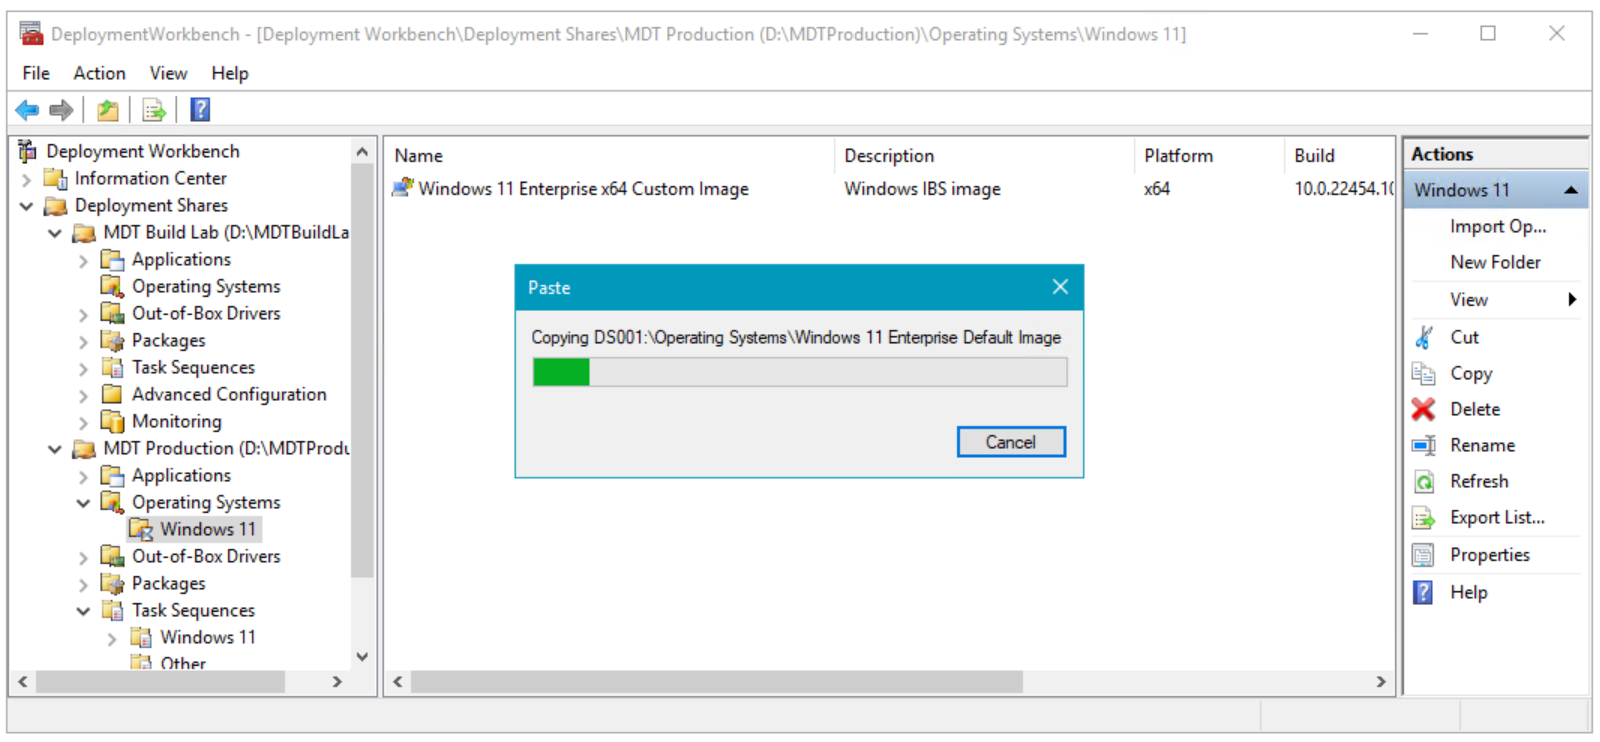
Copying the reference image to the production deployment share
On MDT01:
- Sign in as contoso\administrator and copy the content of a Windows 11 Enterprise x64 DVD/ISO to the D:\Downloads\Windows 11 Enterprise x64 folder on MDT01, or just insert the DVD or mount an ISO on MDT01.
- Using the Deployment Workbench, expand the Deployment Shares node, and then expand MDT Production.
- Right-click the Operating Systems node, and create a new folder named Windows 11.
- Expand the Operating Systems node, right-click the Windows 11 folder, and select Import Operating System. Use the following settings for the Import Operating System Wizard:
- Full set of source files
- Source directory: (location of your source files)
- Destination directory name: W11EX64
- After adding the operating system, in the Operating Systems / Windows 11 folder, double-click it and change the name to: Windows 11 Enterprise x64 Default Image.
Create a task sequence to upgrade to Windows 11 Enterprise
On MDT01:
- Using the Deployment Workbench, select Task Sequences in the MDT Production node, and create a folder named Windows 11.
- Right-click the new Windows 11 folder and select New Task Sequence. Use the following settings for the New Task Sequence Wizard:
- Task sequence ID: W11-X64-UPG
- Task sequence name: Windows 11 Enterprise x64 Upgrade
- Template: Standard Client Upgrade Task Sequence
- Select OS: Windows 11 Enterprise x64 Default Image
- Specify Product Key: Do not specify a product key at this time
- Organization: Contoso
- Admin Password: Do not specify an Administrator password at this time
Perform the Windows 11 upgrade
To initiate the in-place upgrade, perform the following steps on PC0002 (the device to be upgraded).
On PC0002:
- Start the MDT deployment wizard by running the following command: \\MDT01\MDTProduction$\Scripts\LiteTouch.vbs
- Select the Windows 11 Enterprise x64 Upgrade task sequence, and then click Next.
- Select one or more applications to install (will appear if you use custom image): Install - Adobe Reader
- On the Ready tab, click Begin to start the task sequence. When the task sequence begins, it automatically initiates the in-place upgrade process by invoking the Windows setup program (Setup.exe) with the necessary command-line parameters to perform an automated upgrade, which preserves all data, settings, apps, and drivers.

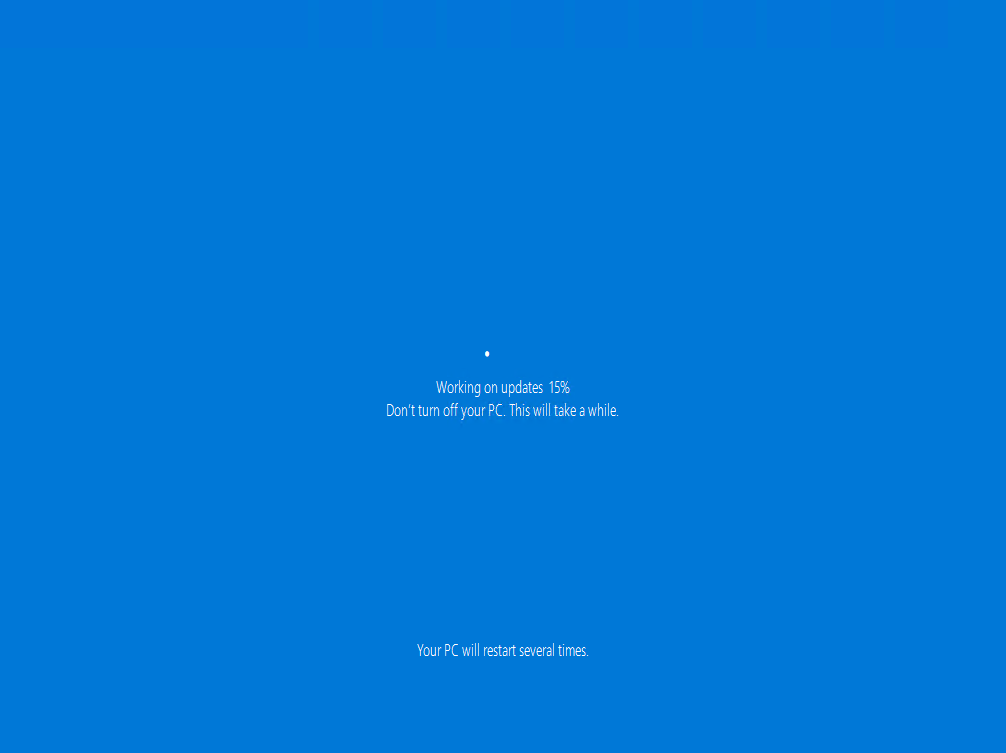
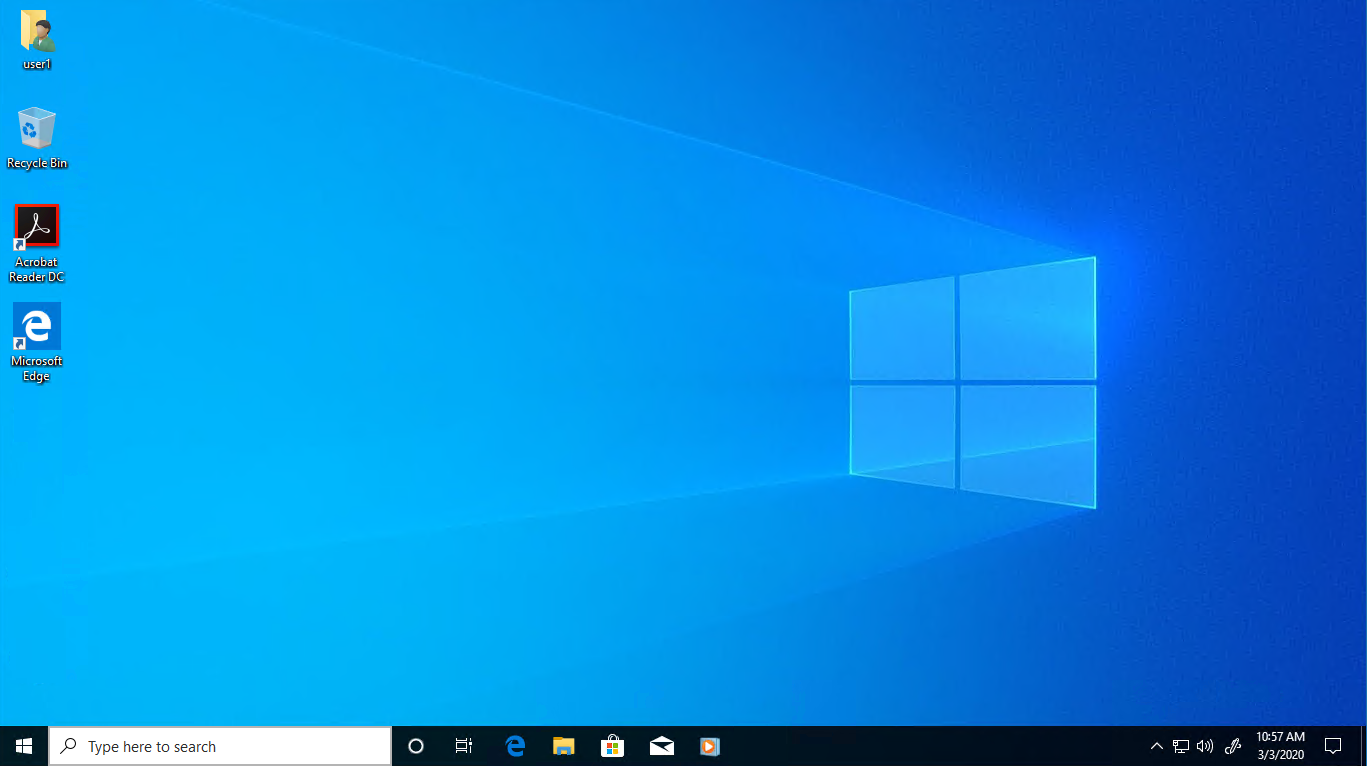
After the task sequence completes, the computer will be fully upgraded to Windows 11.
Related topics
Windows 10 deployment scenarios
Microsoft Deployment Toolkit downloads and resources